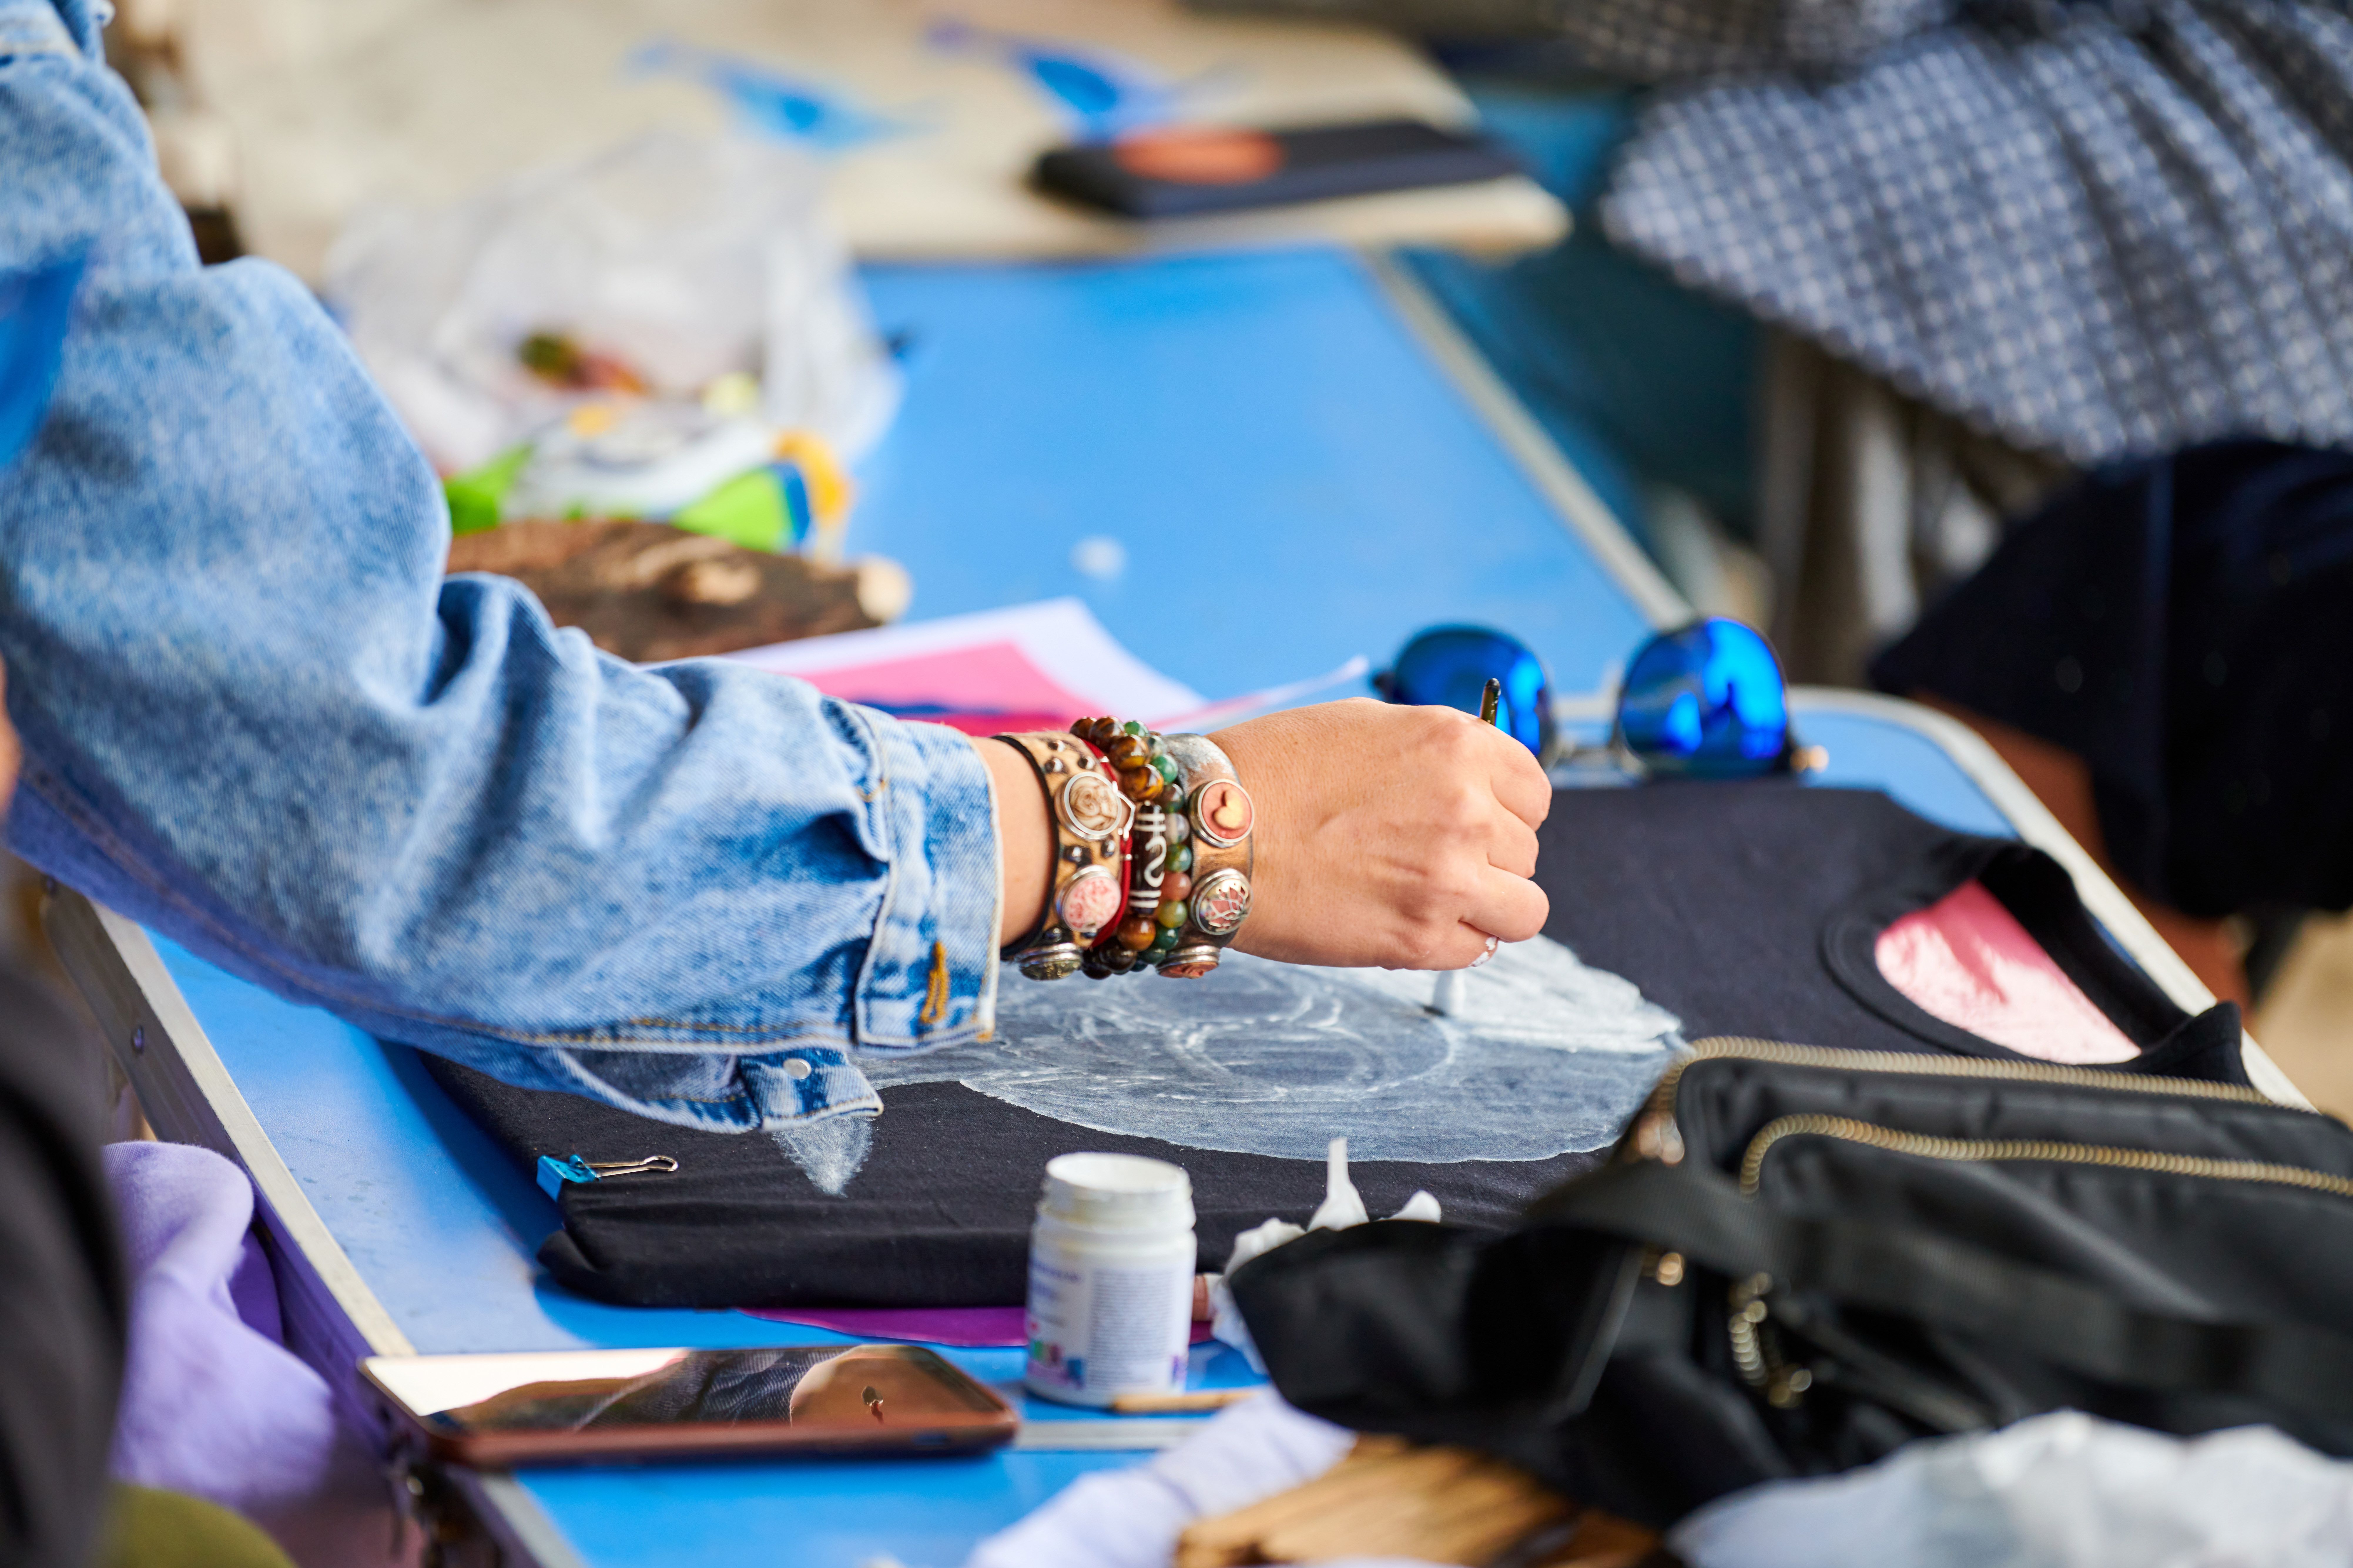
A woman customizes a black T-shirt by hand using a brush and fabric paint in a workshop – abstract DIY-style design

How Do I Design My Own Shirt? – The Ultimate DIY Guide

Introduction: Why Should I Design My Own T-Shirt?

Designing your own shirt is not only a creative expression of your personality but also a way to create something unique. Whether you’re looking for a personalized gift for a special occasion, want to make a statement, or simply wear your own fashion creation – DIY T-shirts are a trendy project. In this detailed DIY guide, you'll learn everything you need to know to create your own shirt – from choosing the right material to design techniques and practical implementation.

How Do I Design My Own T-Shirt? – The Essentials First!

The Right Materials for Your DIY Shirt

Before you dive into the creative part, you need to make sure you select the right materials. The choice of shirt and the printing or painting technique are crucial for the final result.

Personally, I've found that it’s important to consider not just the color of the shirt but also the thickness of the fabric. Thicker fabric holds color better and often feels more premium. At first, I used thinner cheaper T-shirts, but the colors were often less vibrant and faded more quickly.

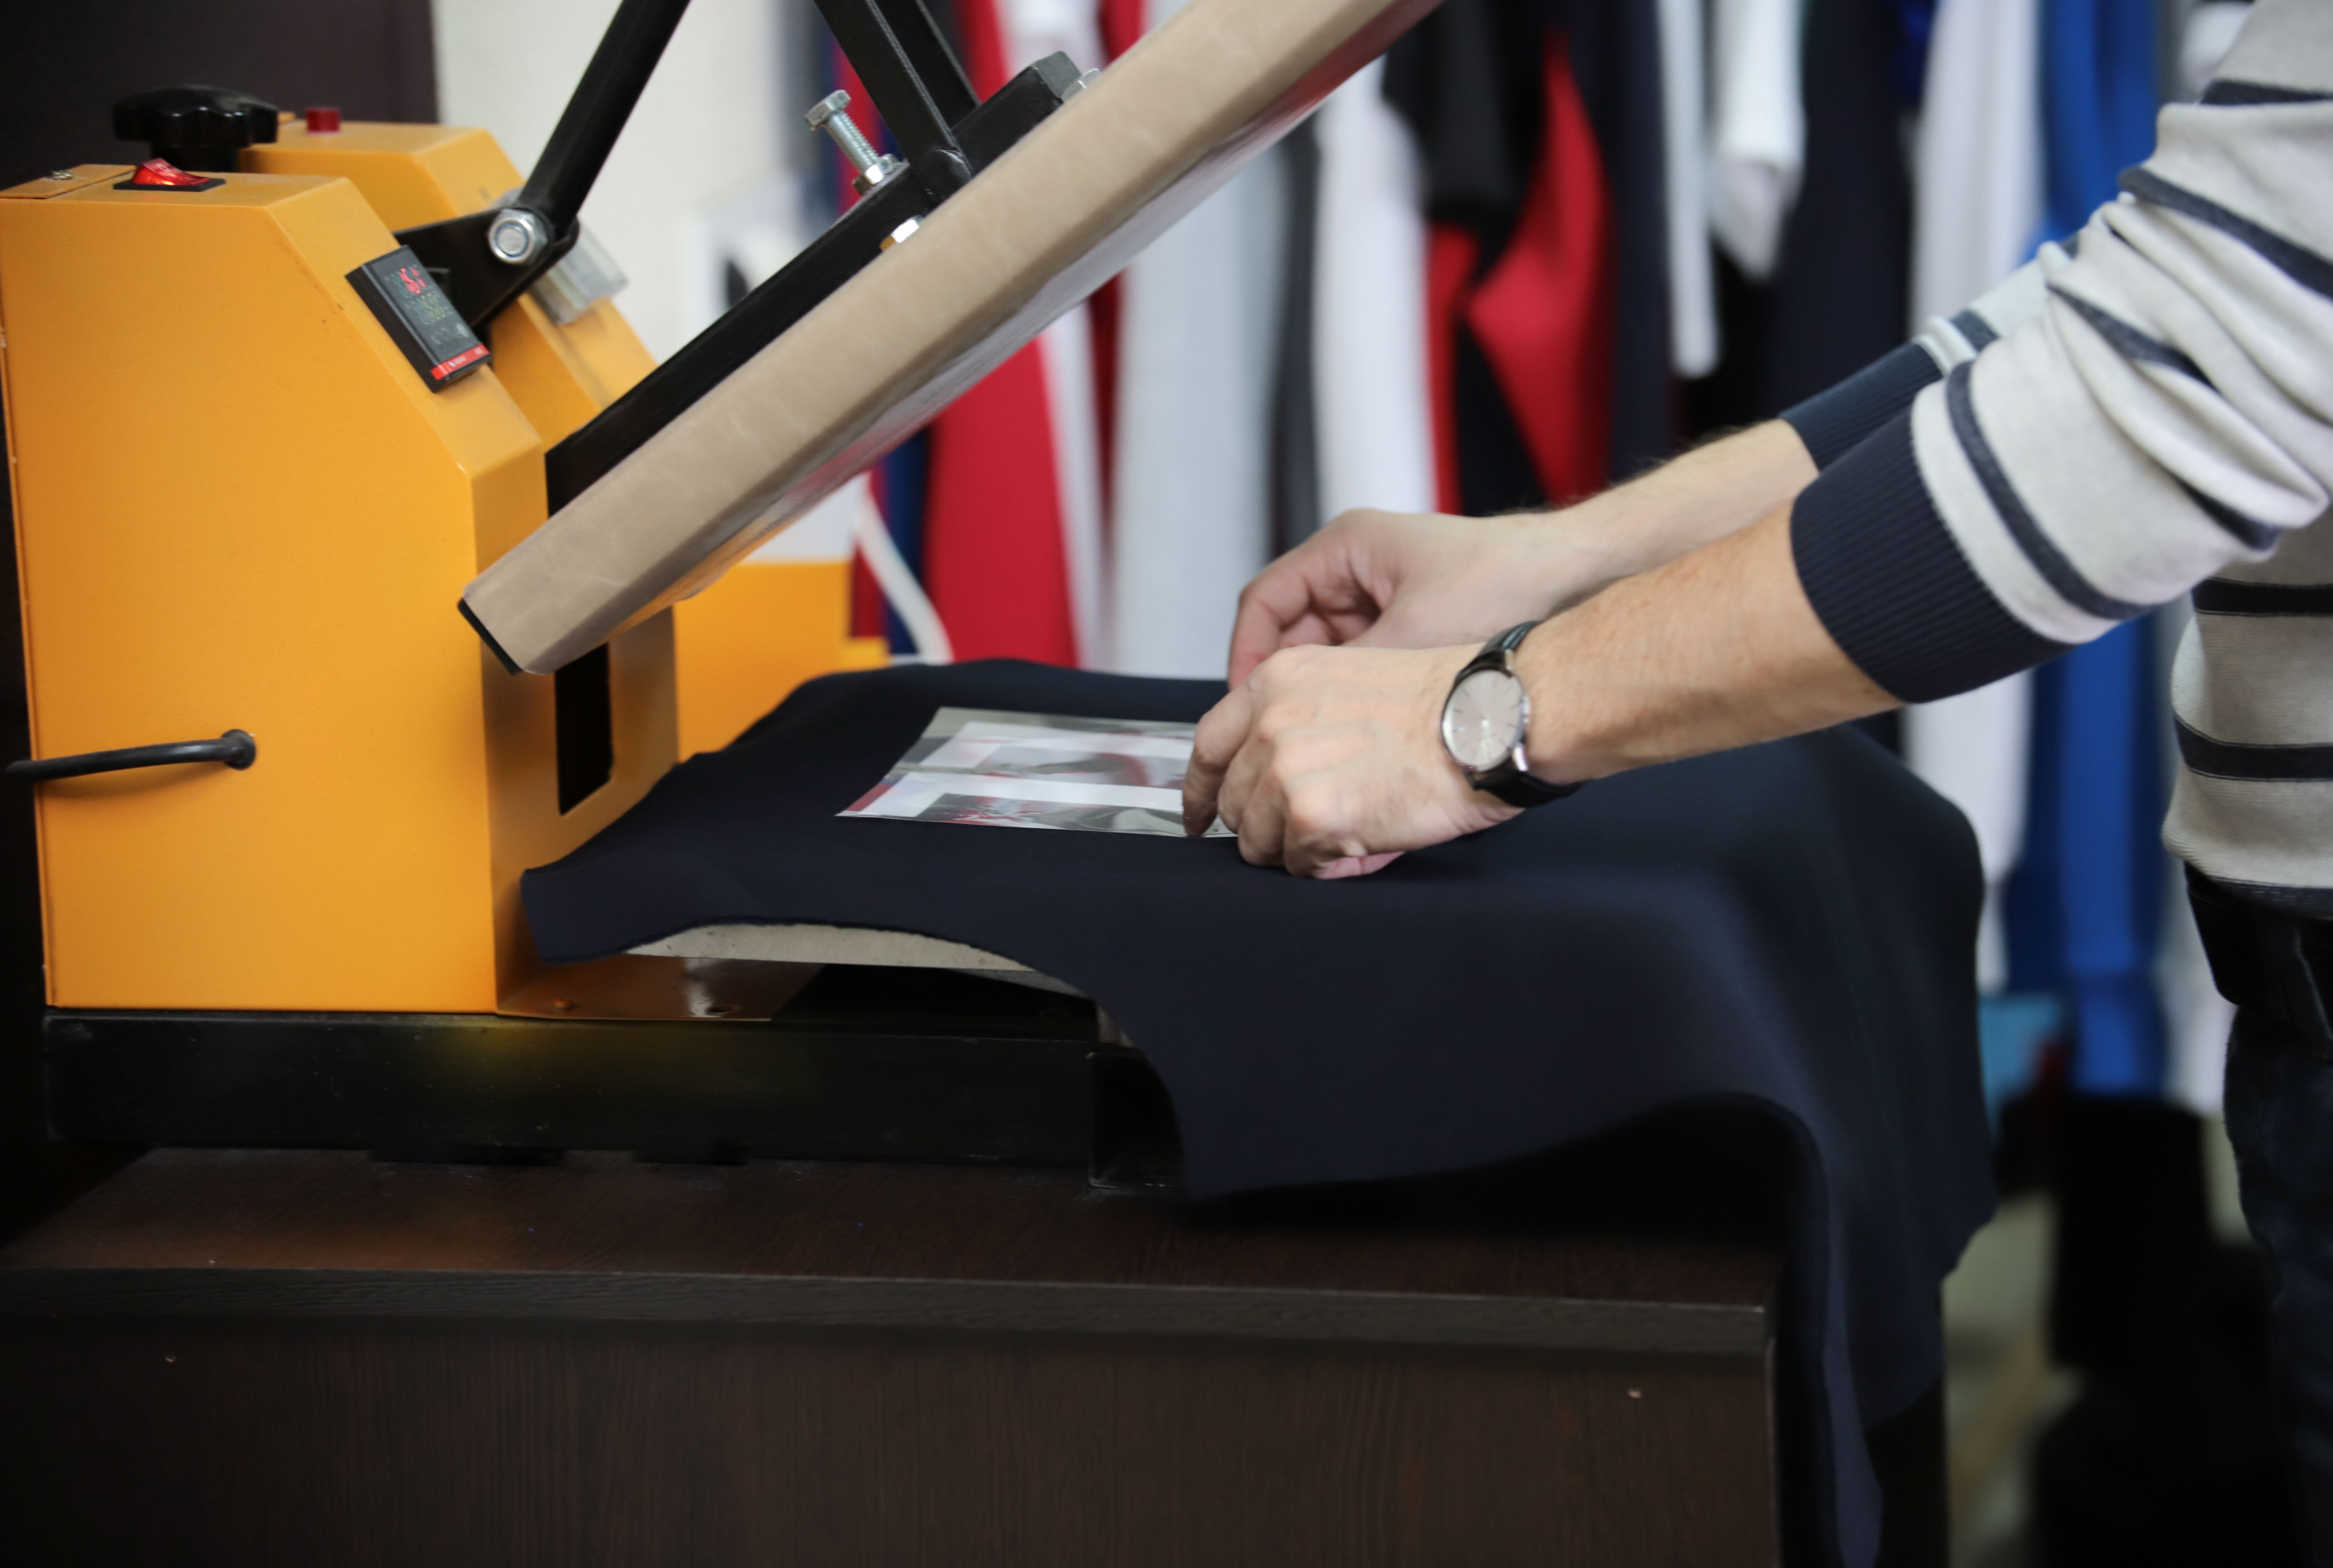
Designer works on their own design for a personal T-shirt – focus on professional production

Choosing the Right Shirt

  • Fabric Type: Cotton is the most popular material for T-shirts as it's soft and comfortable on the skin. For especially high-quality shirts, blends like cotton/polyester are ideal since they are more durable and less prone to wrinkling.
  • Fit: Make sure the shirt fits well and meets your needs – there are different cuts like slim-fit, regular-fit, or oversized.
  • Color: The base color of your shirt plays an important role in the design. Dark colors like black or blue offer strong contrast for many designs, while light colors like white or pastels provide a soft and fresh look.

Materials for Shirt Design

Depending on which technique you choose for your T-shirt design, you'll need different materials. Choosing the right ones is key to achieving the best result and ensuring the longevity of your T-shirt designs.

1. Fabric Paint

Fabric paint is ideal for creative techniques like hand painting or stenciling. Make sure to choose high-quality, wash-resistant, and colorfast fabric paints. Water-based paints are especially eco-friendly and gentle on the fabric. You can use brushes, sponges, or special fabric markers to create unique and personalized designs.

Tip: Use high-quality fabric paints that are permanent and washable once dry. Follow the manufacturer's instructions for setting the paint. For more info, see our care instructions for T-shirts and hoodies.

2. Stencils

Stencils are essential if you want to create precise designs or repetitive patterns. Especially useful in DIY projects and T-shirt upcycling, stencils are often made from plastic or cardboard and can be bought pre-made or custom cut. Secure the stencil well to avoid slipping and use fabric spray paint or brushes for even results.

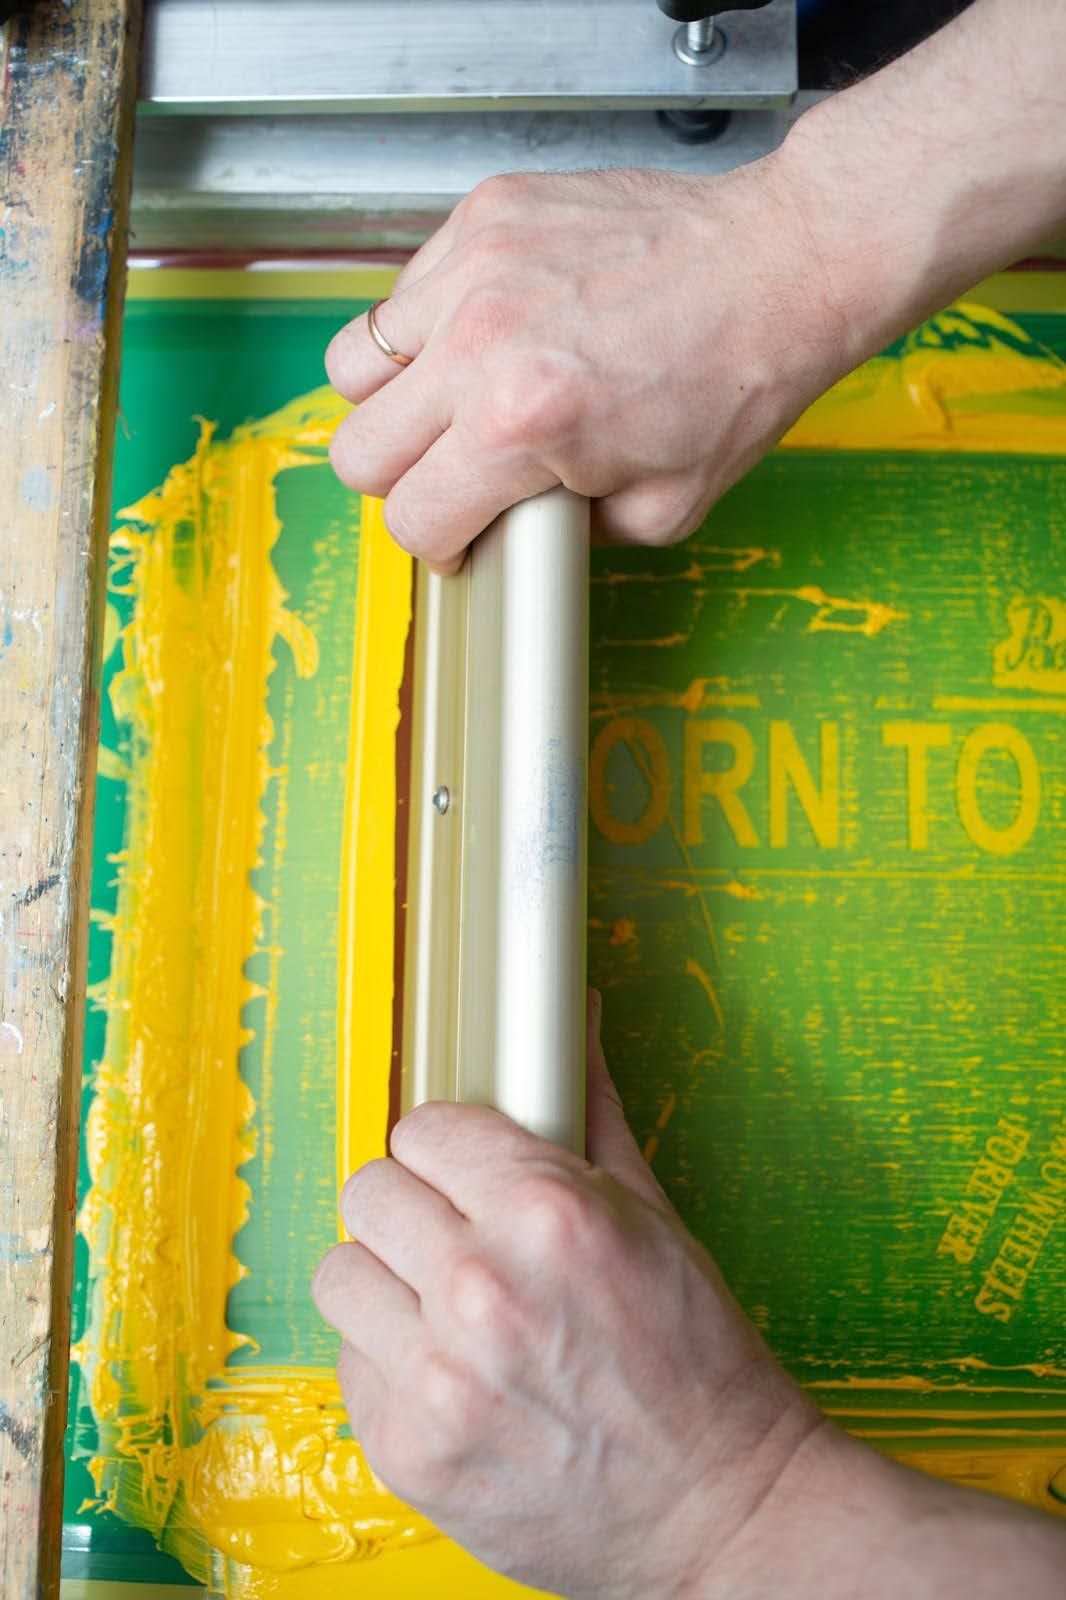
Procedure: Place the stencil on the shirt and then use a sponge or brush to apply paint to the exposed areas. This creates a cleanly outlined design. Pros use a stencil and squeegee in the screen printing process (shown in the image), but this option is not available to most.

Screen printing process: Yellow paint is precisely applied to a T-shirt using a stencil and squeegee in a textile print shop

3. Transfer Paper for Textiles

If you want to transfer complex designs or photos to your T-shirt, transfer paper is your best choice. It works with inkjet or laser printers. Make sure to use paper suited to the fabric type (e.g., cotton or polyester). The design is printed on the paper and then transferred to the fabric using a iron or a heat press.

Advantage: This method is especially good for detailed designs and photo prints.

My personal experience with transfer paper: The first time I used it, I printed the design mirrored. Make sure to print in the correct orientation! I also recommend testing on a sample fabric first to ensure the print looks as expected.

4. Fabric Markers or Pens

These are perfect for detailed drawings, fine lines, and personalized lettering on your T-shirt. High-quality fabric markers are permanent and washable, so your designs last long. Choose markers that are clearly visible on both light and dark fabrics. With special textile markers you can create especially fine lines and contours.

5. Embroidery on T-Shirts and Hoodies

Embroidery gives your shirt a classic, elegant touch. Though time-consuming, the result is durable, unique, and very robust. Using high-quality thread creates designs that are both visually appealing and resistant to wear and frequent washing. A big plus is that embroidery provides a special texture and depth that is hard to achieve with other techniques. You can experiment with different thread types and colors to give your designs a personal touch.

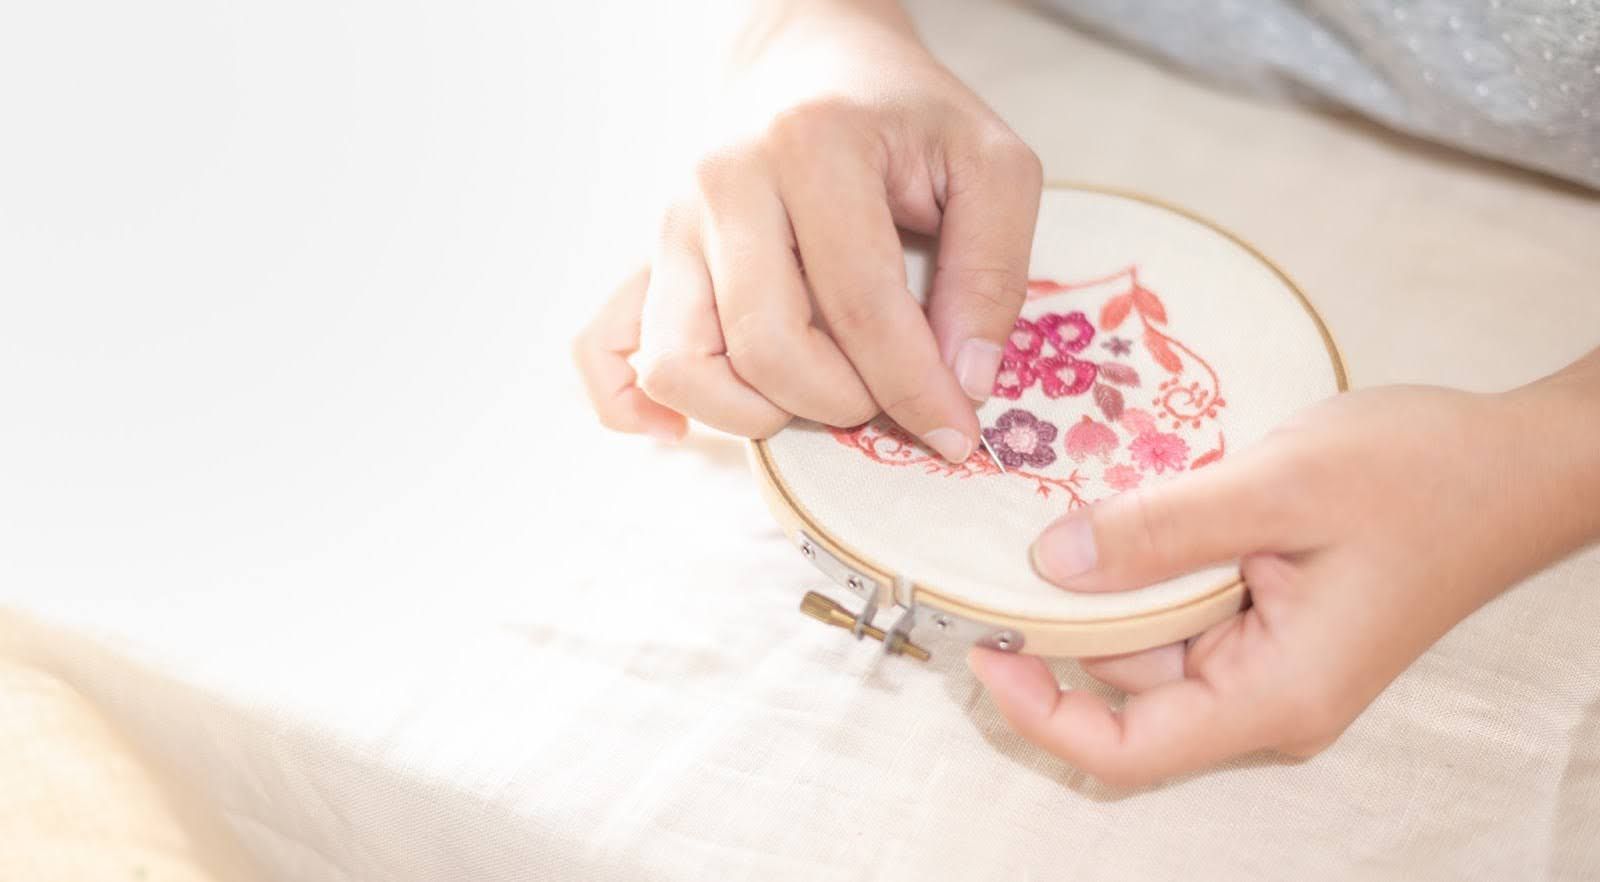
Woman embroiders a pink floral pattern on fabric with needle and embroidery hoop – delicate handmade work in progress
To apply embroidery on T-shirts, you need an embroidery hoop to keep the fabric taut and even during stitching. Another key aspect is choosing the right needle, which can vary depending on fabric and thread thickness. Beginners should start with simple patterns like monograms, initials, or small floral designs to get a feel for the technique.

Once you’ve gained experience, try more complex patterns and larger motifs. Embroidery works on almost any fabric, but it looks especially good on cotton and denim. Another benefit is that embroidery is colorfast and durable – even after many washes, the design stays sharp and visible.

Tip: If you want to try embroidery yourself, start with simple patterns like initials or small flowers before tackling bigger projects.

The choice of materials depends heavily on your chosen technique and desired look. Experiment with different design techniques to create your unique DIY T-shirt!

The Right Tools and Techniques for Implementation

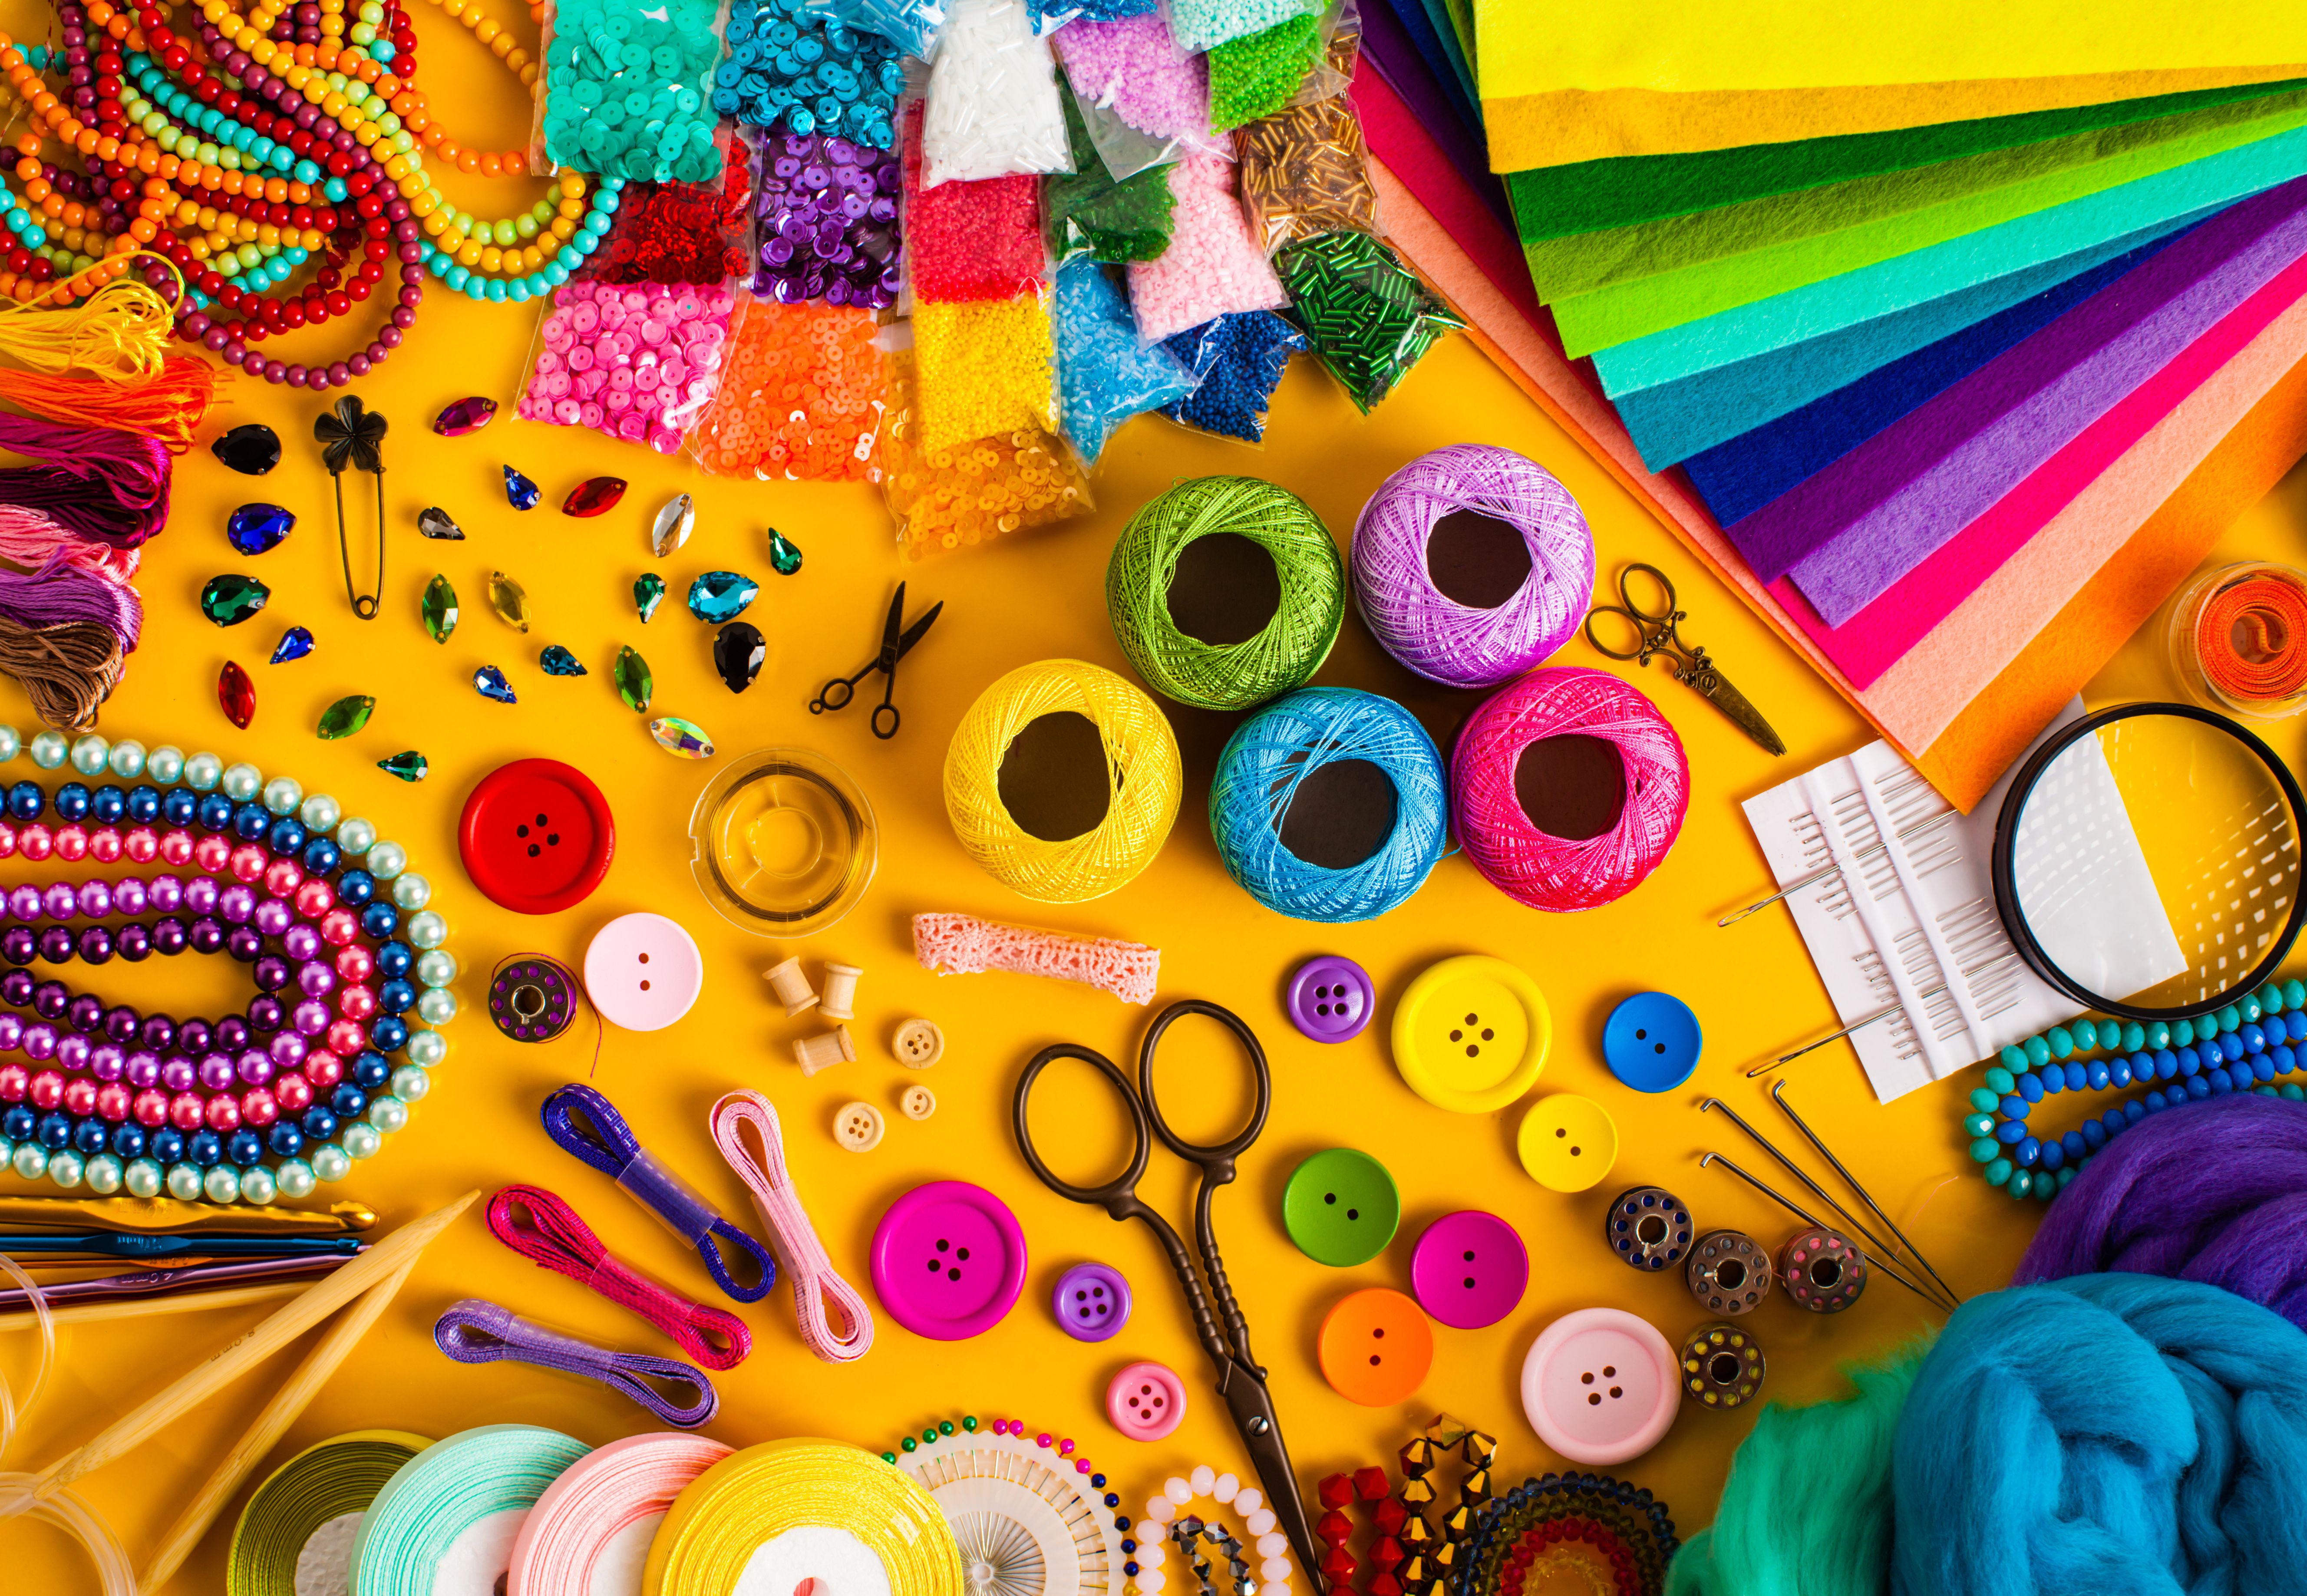
Craft materials for DIY projects: thread, buttons, felt & beads for creative T-shirt design and textile upcycling.

1. Tools for Hand Painting and Stenciling

  • Brushes: To paint precise details or larger areas, various brush sizes are needed. Fine brushes are suitable for detailed designs, while larger brushes are ideal for coloring areas and backgrounds. Make sure to choose brushes specifically designed for fabric paint to achieve an even and clean result.
  • Sponges: Sponges are perfect for evenly applying paint to large or irregular areas. They allow for smooth transitions and can be used for stenciling techniques to create precise lines. Try different sponge textures to achieve various effects and give your design more depth.
  • Fixatives: Some fabric paints require the use of fixatives after painting to ensure the durability of the design. These products help the colors remain vibrant and intact after multiple washes. Be sure to use fixatives that are compatible with your paint and shirt fabric to achieve optimal results.

2. Tools for Fabric Printing with Transfer Paper

  • Printer: An inkjet or laser printer is necessary to accurately print your design onto transfer paper. Choose a printer with high resolution to ensure that fine details and text appear sharp and clear. Use transfer paper suitable for your printer type. Insert the transfer paper into the printer and print your desired design on it.

  • Iron: A good iron is essential to transfer the design evenly and permanently from the transfer paper onto the T-shirt. Make sure the iron reaches the correct temperature (between 160–180°C). Apply even pressure and avoid excessive movement to ensure a smooth result. A heat press can also be a great option for professional results, especially for larger prints.
Electric iron on ironing board with white shirt – ideal for fixing transfer prints and fabric paints on T-shirts.

Step-by-Step Guide: Designing Your DIY Shirt

  1. Create a design: Think about the design you want on your shirt. It can be hand-drawn, digitally created, or a photo.
    Tip: Make sure your design works well with the fabric color and fit of the shirt.
  2. Prepare the shirt: Wash your shirt beforehand to remove any chemicals or dye residues from production.
  3. Apply the design to the shirt: Use one of the above techniques to transfer your design onto the shirt. For stenciling or hand painting, the shirt should be laid flat and secure during the process.
  4. Dry and fix: Let your shirt dry thoroughly. With fabric paints, it may be necessary to fix the design with an iron to make it washable.
  5. Final check and care: Check that the design turned out well and the shirt doesn’t have any unwanted stains or color bleed. Care for your DIY shirt according to the fabric art care instructions to keep it looking great for a long time.

Skip the Effort – Design Your T-Shirt Easily Online

If you want to skip the elaborate process, you can design your T-shirt conveniently using our Design Tool. Choose from various designs, customize your shirt to your liking, and bring it to life in your preferred style – without needing to paint or print it yourself. Fast, easy, and hassle-free!

The logo of the T-shirt design website Wear Your Imagination (WYI) in black Raleway font on a white background.

Frequently Asked Questions (FAQ)

  1. How do I wash a self-designed shirt? To extend the life of your shirt, always wash it inside out at a low temperature (max. 30°C) and avoid using the dryer. Air drying is recommended, as direct heat can damage the colors and design. You can also wash the shirt in a laundry bag to reduce friction and wear.
  2. Can I use fabric paint on dark shirts? Yes, there are special fabric paints for dark fabrics that work well on black or blue shirts. These paints have higher opacity, making them bright and clear. For best results, apply a white base layer when working with bold or bright colors.
  3. How can I ensure my design is wash-resistant? Fix the paint after drying with an iron to enhance durability. You can also use a special fixative to boost colorfastness and ensure the design holds up through frequent washing. Follow the manufacturer’s instructions carefully.

Conclusion:
Your DIY Shirt – A Creative Expression

Designing your own shirt is a rewarding and creative activity that not only gives you a unique piece of clothing but also strengthens your craftsmanship.

With the right materials, tools, and techniques, you can bring your ideas to life and make your own fashion statement. Whether you're a beginner or an experienced DIY enthusiast – the world of shirt design is open to you!

My first shirt design wasn't perfect, but that’s okay! Don’t be afraid of making mistakes – many of my best results came from happy accidents I wouldn’t have tried otherwise. Use your creativity and allow yourself to experiment.

Tip: Remember that the journey to the perfect shirt is filled with fun and experimentation. Dare to bring your ideas to life and let your creativity run wild!